Think “Firebase of Crypto” – Moralis
Introduction
Moralis is a web3 development platform that provides a backend as a service for blockchain projects.
It’s the fastest way to build and deploy decentralized applications (dApps) on Ethereum, BSC, Polygon, Solana, and Elrond blockchains.
Instead of building your dApps architecture from scratch, the Moralis server and its Software Development Kit (SDK) will help you with the backend, making it easy to interact and query non-fungible tokens (NFTs) data from the blockchain in real-time!
What we’ll Build – NFT Explorer
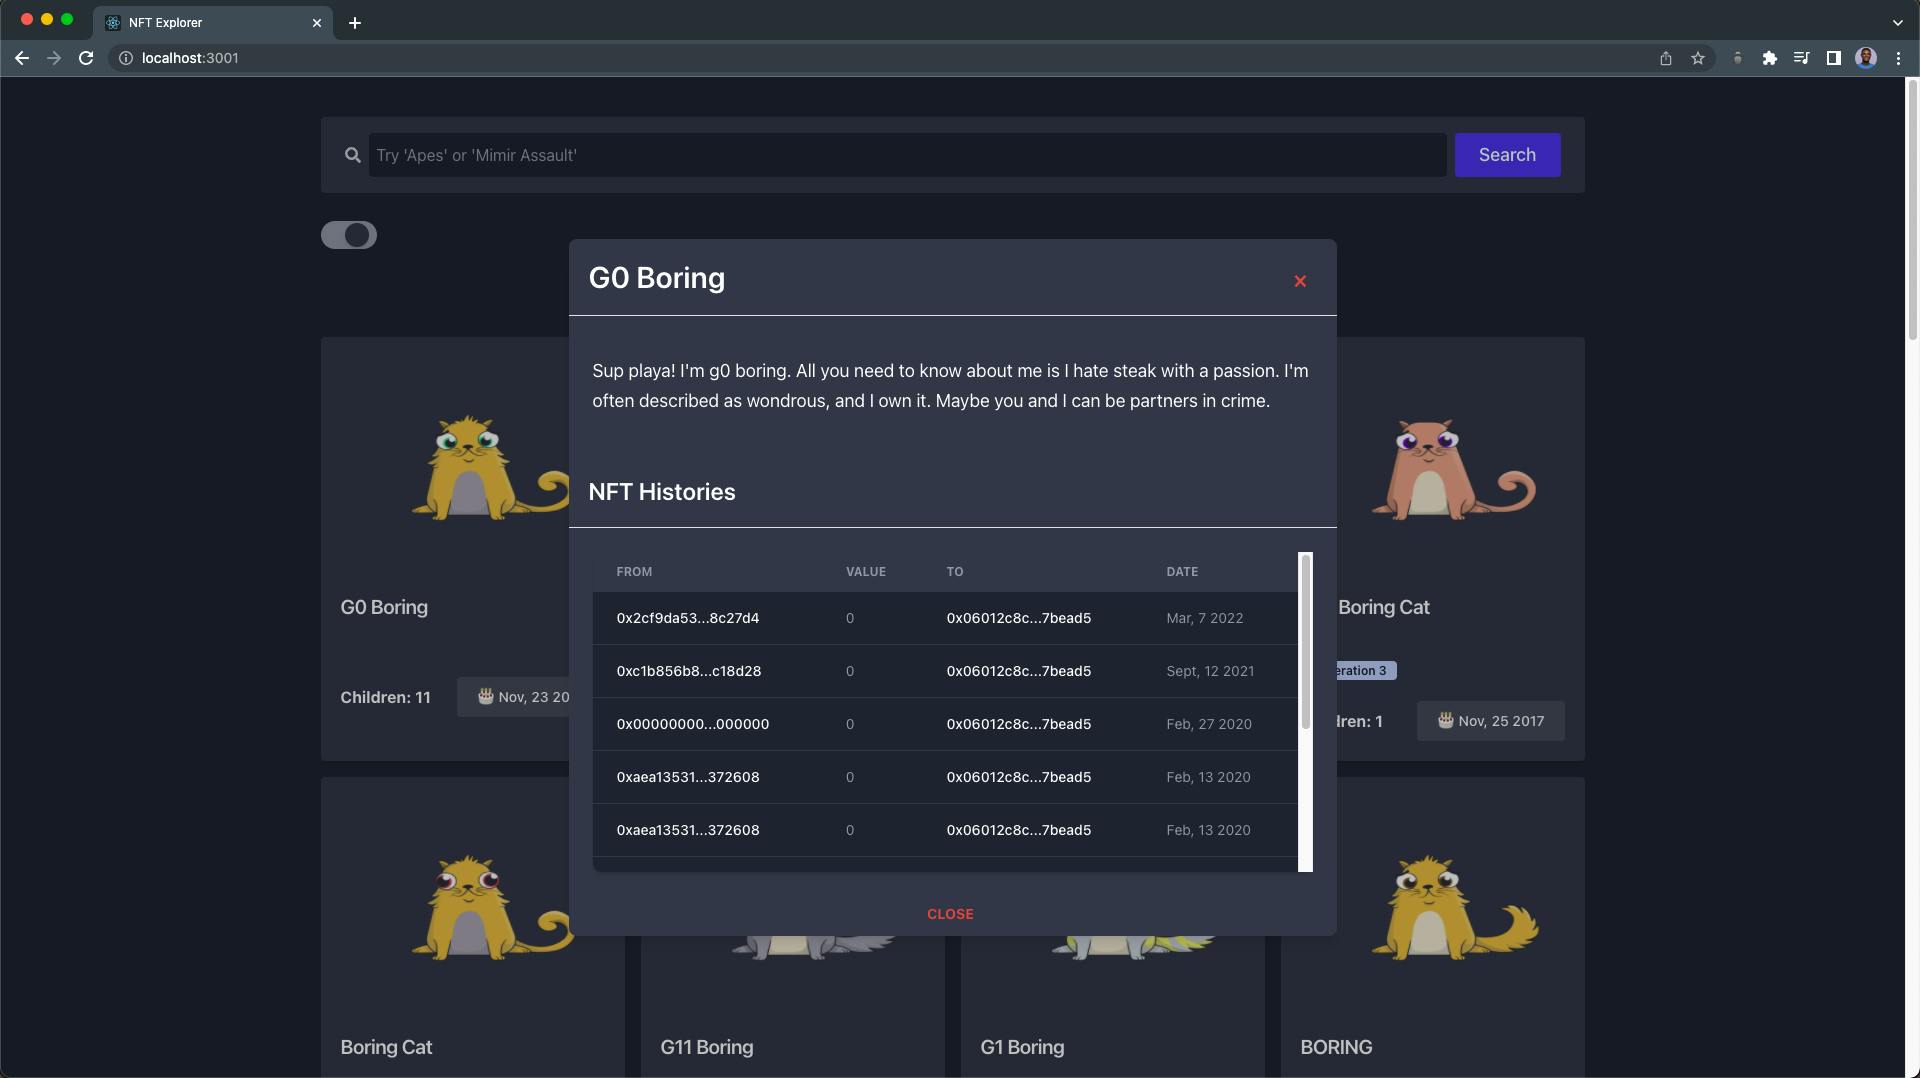
In this tutorial, we’re going to use the Moralis React SDK and its cross-chain web3 NFT APIs to build a React NFT explorer application, where anyone can search for NFTs across multiple chains by name.
An NFT explorer is a dApp that allows users to get information about any collection of NFTs, such as name, price, birthday, owner’s address, ownership verification, NFT transfer history, etc.

Demo
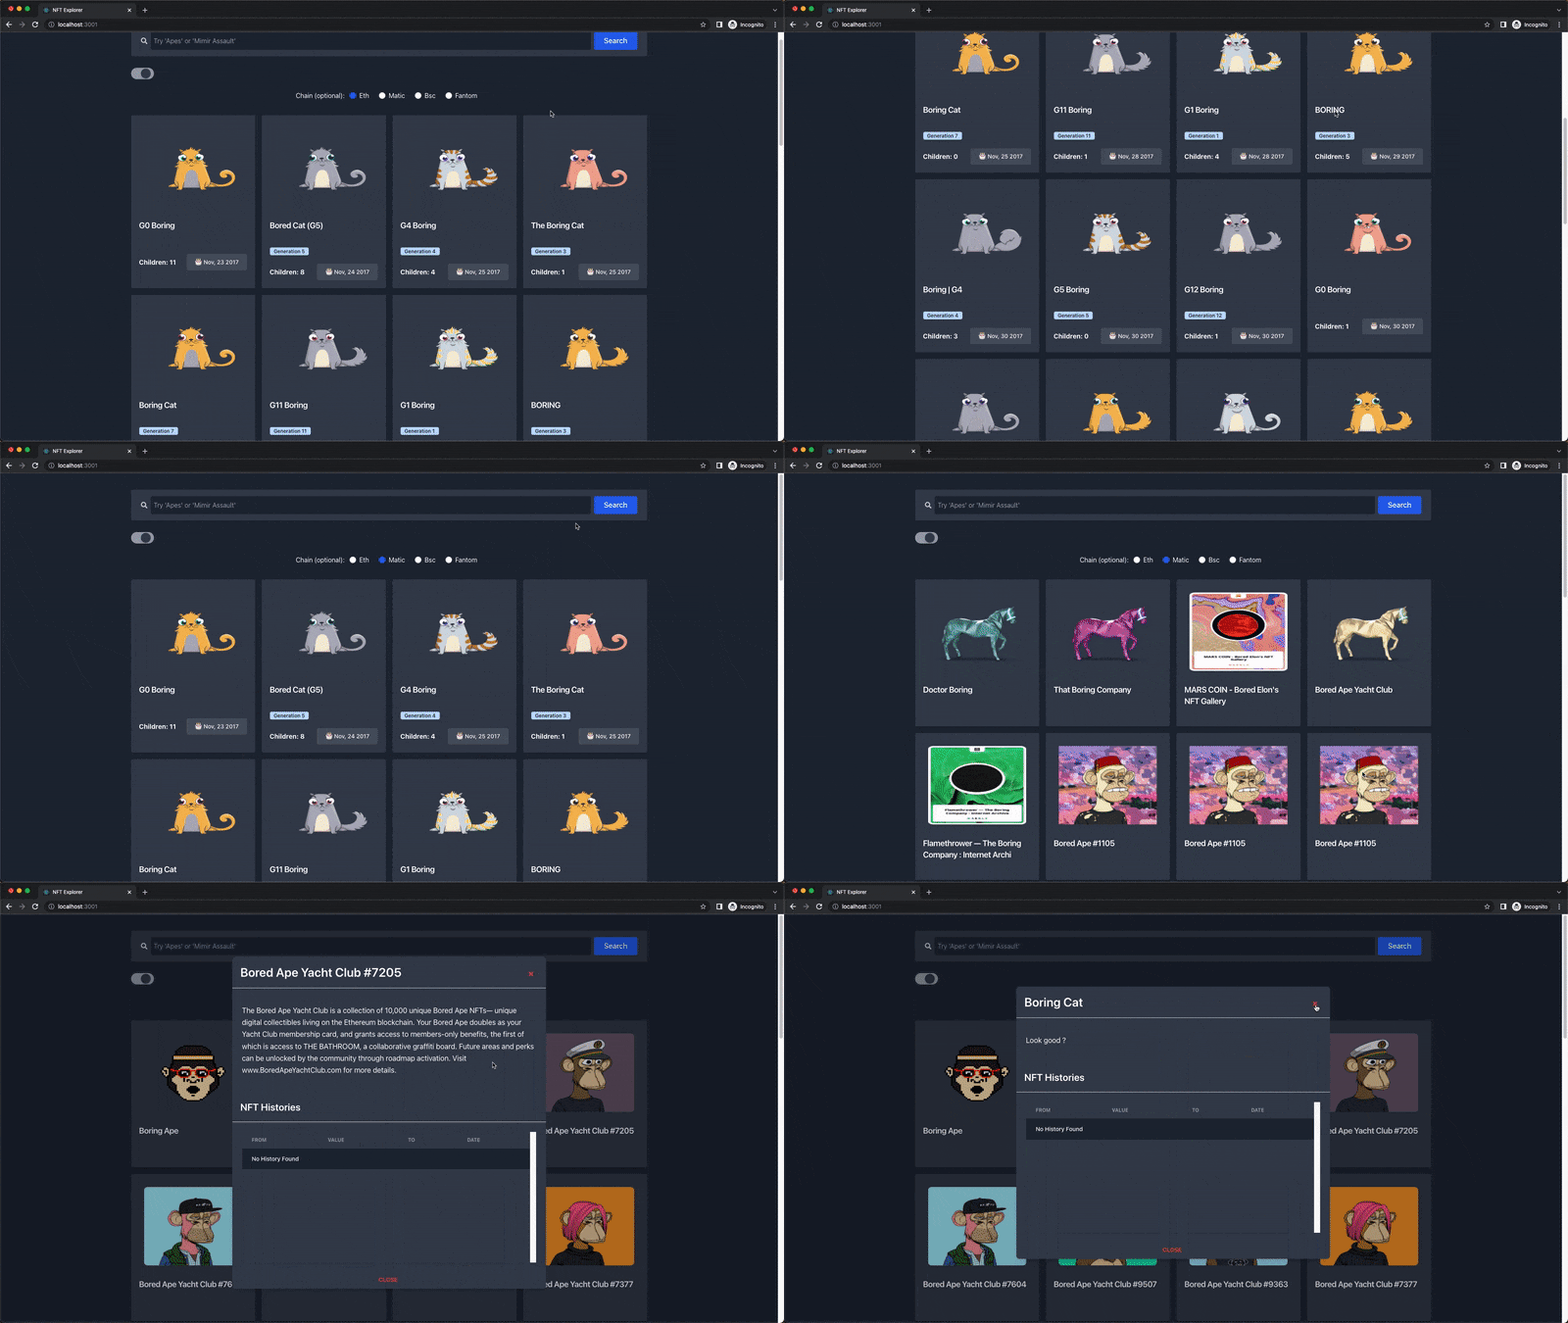
Below is the demo video of the React NFT explorer application we’re going to build at the end of this article:

Prerequisites
This tutorial uses the following stack:
- React
- Tailwind CSS
- Moralis React SDK
- Web3 NFT APIs
For this tutorial, you’ll need to have:
Step 1 – Create a React App
In this first step, we’ll create a new React application using the npx package manager.
Run the command below to create a new react app for our NFT explorer:
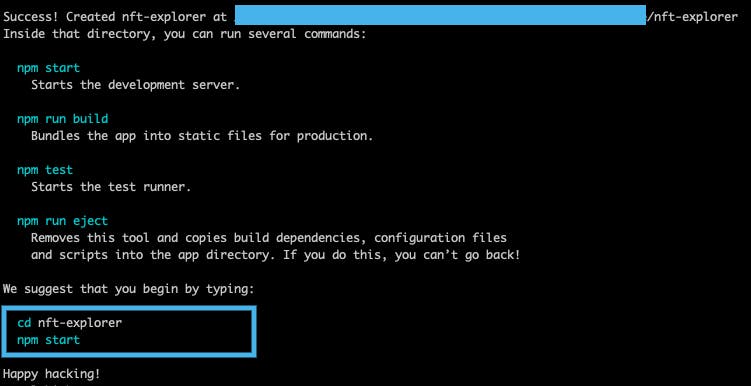
npx create-react-app nft-explorer 
When it’s done, run the command below to navigate into your nft-explorer directory:
cd nft-explorer Open your project in any code editor. Our project folder structure should look like this:
nft-explorer ├── node_modules ├── public ├── src ├── .gitignore ├── package-lock.json ├── package.json └── README.md Step 2 – Installing Moralis React SDK
Now that our React application is ready, we’re going to install the Moralis React SDK.
Run the following command from your nft-explorer directory terminal:
npm install moralis react-moralis Step 3 – Installing Tailwind CSS
In this step, we’re going to install and set up Tailwind CSS in our React application.
Run the code below to install Tailwind CSS and its peer dependencies:
npm install -D tailwindcss postcss autoprefixer Next, run the command below to generate a Tailwind CSS configuration file at the root of your project directory:
npx tailwindcss init Inside your tailwind.config.js file, replace the content with the following code:
module.exports = { darkMode: "class", content: ["./src/**/*.{js,jsx,ts,tsx}"], theme: { extend: {}, }, plugins: [], }; Finally, import Tailwind CSS by updating the index.css file with the following:
@tailwind base; @tailwind components; @tailwind utilities; To test if Tailwind CSS is working, update your App.js file with the code below:
import logo from "./logo.svg"; import "./App.css"; function App() { return ( <div className="App" <header className="App-header" <img src
Read More: web3.hashnode.com


 Bitcoin
  Ethereum
  Tether
  XRP
XRP  Solana
  USDC
USDC  Dogecoin
  Cardano
  Lido Staked Ether
  TRON
TRON  Wrapped Bitcoin
  Wrapped stETH
  Chainlink
  Litecoin
  Avalanche
  Stellar
  Toncoin
  LEO Token
  Sui
Sui  Hedera
  Shiba Inu
  USDS
USDS  Polkadot
  MANTRA
  Hyperliquid
  WETH
WETH  Ethena USDe
  Bitcoin Cash
  Bitget Token
  Wrapped eETH
  Uniswap
  Monero
  WhiteBIT Coin
  NEAR Protocol
  Aptos
Aptos  Pepe
Pepe  Dai
Dai  Internet Computer
  Aave
Aave  Ondo
Ondo  sUSDS
sUSDS  Ethereum Classic
  OKB
OKB  Bittensor
  Gate
Gate  Mantle
  Official Trump
  Tokenize Xchange
  Coinbase Wrapped BTC