Web3 Authentication is a common and crucial feature to have in an application with public data. It helps identify who is accessing the website and what data to be delivered based on the currently logged-in user.
Introduction
The internet has evolved over the years from the first version of the web (web1) which requires a username and a password for a user’s authentication.
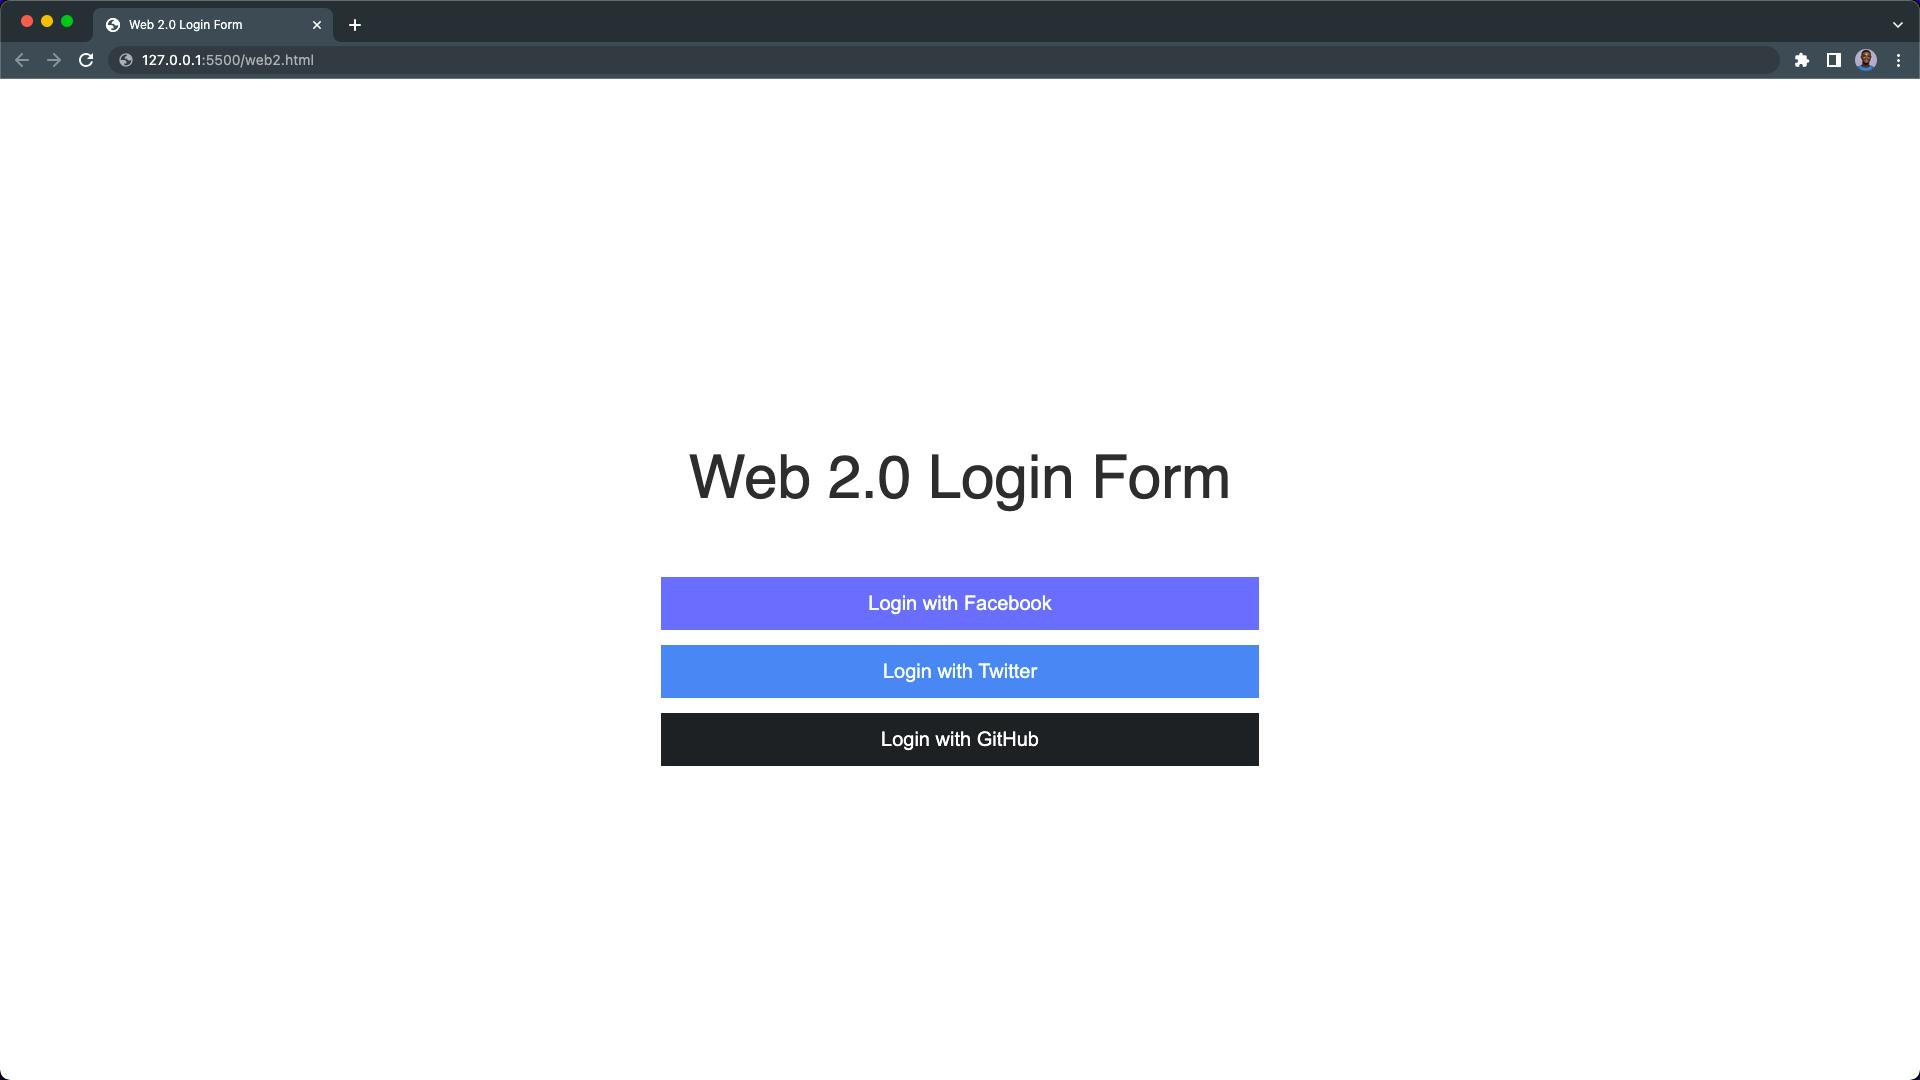
From web1, we moved to the second version of the web, web2. This is where social media is used as means of identification and authentication on other platforms, removing the need to manually fill in a username and password.

The main issue with web2 is that people have no control over their personal data; Instead, central bodies such as governments and most of the big companies you’ve signed up with, hold and manage their user’s data the way they see fit.
Now, the third version of the web often referred to as web3, is a decentralized version of the internet where every user has complete control over their personal data, as opposed to previous generations of the internet in which the user had little to no control.
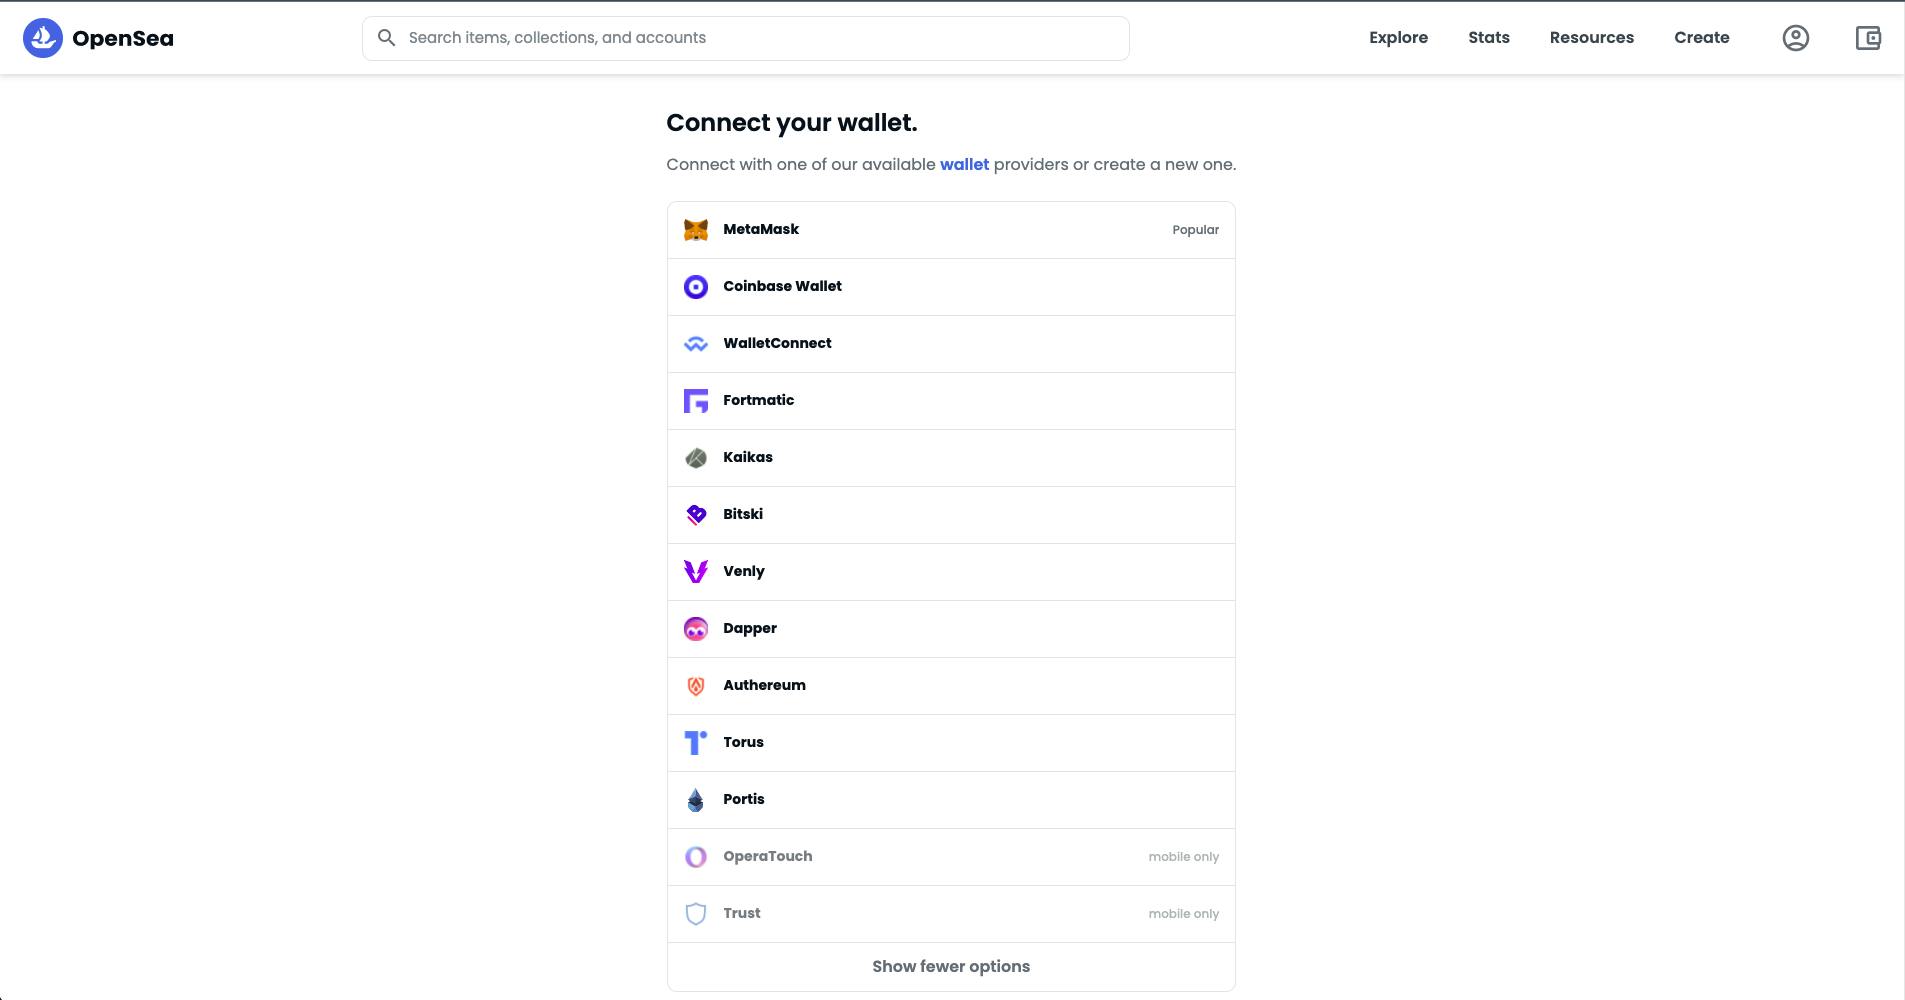
Web3 authenticating only requires the user to connect to their crypto wallet on web3 platforms, such as OpenSea.

This article demonstrates how to add web3 login authentication to your website using the Web3.js library.
Demo
Below is the demo video of the web3 login authentication system we’re going to build at the end of this article.
Prerequisites
Before we continue with this guide, you should have a basic understanding of JavaScript and have an Ethereum based wallet installed (seen in Step 2).
What is Web3.js?
According to the Ethereum Foundation, Web3.js is a collection of libraries that allow you to interact with a local or remote Ethereum node using HTTP, IPC, or WebSocket.
Web3.js can be used in the frontend or backend of an application to read data from the blockchain, make transactions and deploy smart contracts to the blockchain. You can read the introduction to Web3.js Library here.
Step 1 – Installing Web3.js Library
The fastest way to add Web3.js into your project is by including the Web3.js CDN in your project HTML file.
You can get it from CDNJS here, or copy the script tag below into your HTML file.
<script src="https://cdnjs.cloudflare.com/ajax/libs/web3/1.7.1/web3.min.js" integrity="sha512-GKw4QT/RccGJIwQxY3MhyiQ5pHrhQ8SuKFEafV+WcpOvtz7iYFQuQGFCvmGlHLctJTe8KrWU1FqvF7VOkEAJtw==" crossorigin="anonymous" referrerpolicy="no-referrer"</script Another way to install the Web3.js library into your frontend or backend application is through a package manager using yarn add web3 or npm install web3. These commands will install the Web3.js library in your application.
We’ll make use of the Web3.js CDN in this web3 js tutorial.
In your project directory, create a new index.html file and paste the HTML code below:
<!-- index.html -- <!DOCTYPE html <html lang="en" <head <meta charset="UTF-8" / <meta...
Read More: web3.hashnode.com


 Bitcoin
  Ethereum
  Tether
  XRP
XRP  Solana
  Dogecoin
  USDC
USDC  Cardano
  Lido Staked Ether
  TRON
TRON  Avalanche
  Sui
Sui  Wrapped stETH
  Toncoin
  Chainlink
  Shiba Inu
  Wrapped Bitcoin
  Stellar
  Hedera
  Polkadot
  WETH
WETH  LEO Token
  Bitcoin Cash
  Uniswap
  Litecoin
  Hyperliquid
  Pepe
Pepe  Wrapped eETH
  NEAR Protocol
  Ethena USDe
  USDS
USDS  Internet Computer
  Aptos
Aptos  Aave
Aave  Mantle
  POL (ex-MATIC)
  Cronos
  Ethereum Classic
  Render
  MANTRA
  Monero
  Bittensor
  Artificial Superintelligence Alliance
  Tokenize Xchange
  Dai
Dai  Virtuals Protocol
  Arbitrum