Artists and content creators have a unique potential to monetize their work due to blockchain technology, especially NFTs.
Artists are no longer reliant on galleries or auction houses to sell their art. Instead, they can sell it directly to the consumer as an NFT, allowing them to keep a more significant portion of the profit.
This article will guide us through building and deploying an NFT whitelist smart contract, enabling us to add, remove, validate, and verify if a user is part of a project’s whitelist.
Prerequisites
Make sure to have Node.js or npm installed on your computer. If you don’t, click here.
Project Setup and Installation
Let’s create a new folder/directory for our project, whitelist-project in the terminal. We’ll work in this directory through the course of this tutorial. In the directory we just created, run the following commands:
npm init -y npm install --save-dev hardhat Let’s get a sample project by running the command below:
npx hardhat We’ll go with the following options:
- A sample project.
- Accept all other requests.
Having hardhat-waffle and hardhat-ethers installed is required for the sample project.
Just in case it didn’t install automatically, we will install it manually with the following command:
npm install --save-dev @nomiclabs/hardhat-waffle ethereum-waffle chai @nomiclabs/hardhat-ethers ethers To make sure everything is working, run the following code:
npx hardhat test If everything is working as it should, you’ll see a passed test result in your console:
Now, delete sample-test.js from the test folder, sample-script.js from the scripts folder, and Greeter.sol from the contracts folder.
The folders themselves should not be deleted.
We’ll create a Whitelist.sol file inside the contracts directory. When using Hardhat, file layout is crucial, so pay attention! We’ll start with the most basic structure of any contract.
pragma solidity ^0.8.0; import "hardhat/console.sol"; contract Whitelist { constructor() { console.log("Hello! from Whitelist Contract"); } } To build and deploy our smart contract, we’ll navigate to the scripts folder, create a new run.js file, and update it with the following code snippet:
const main = async () = { const whitelistContractFactory = await hre.ethers.getContractFactory( "Whitelist" ); const whitelistContract = await whitelistContractFactory.deploy(); await whitelistContract.deployed(); console.log("Whitelist Contract deployed to: ", whitelistContract.address); }; const runMain = async () = { try { await main(); process.exit(0); } catch (error) { console.log(error); process.exit(1); } }; runMain(); In the code snippet above, we’ve created a script that lets us deploy the smart contract we wrote earlier.
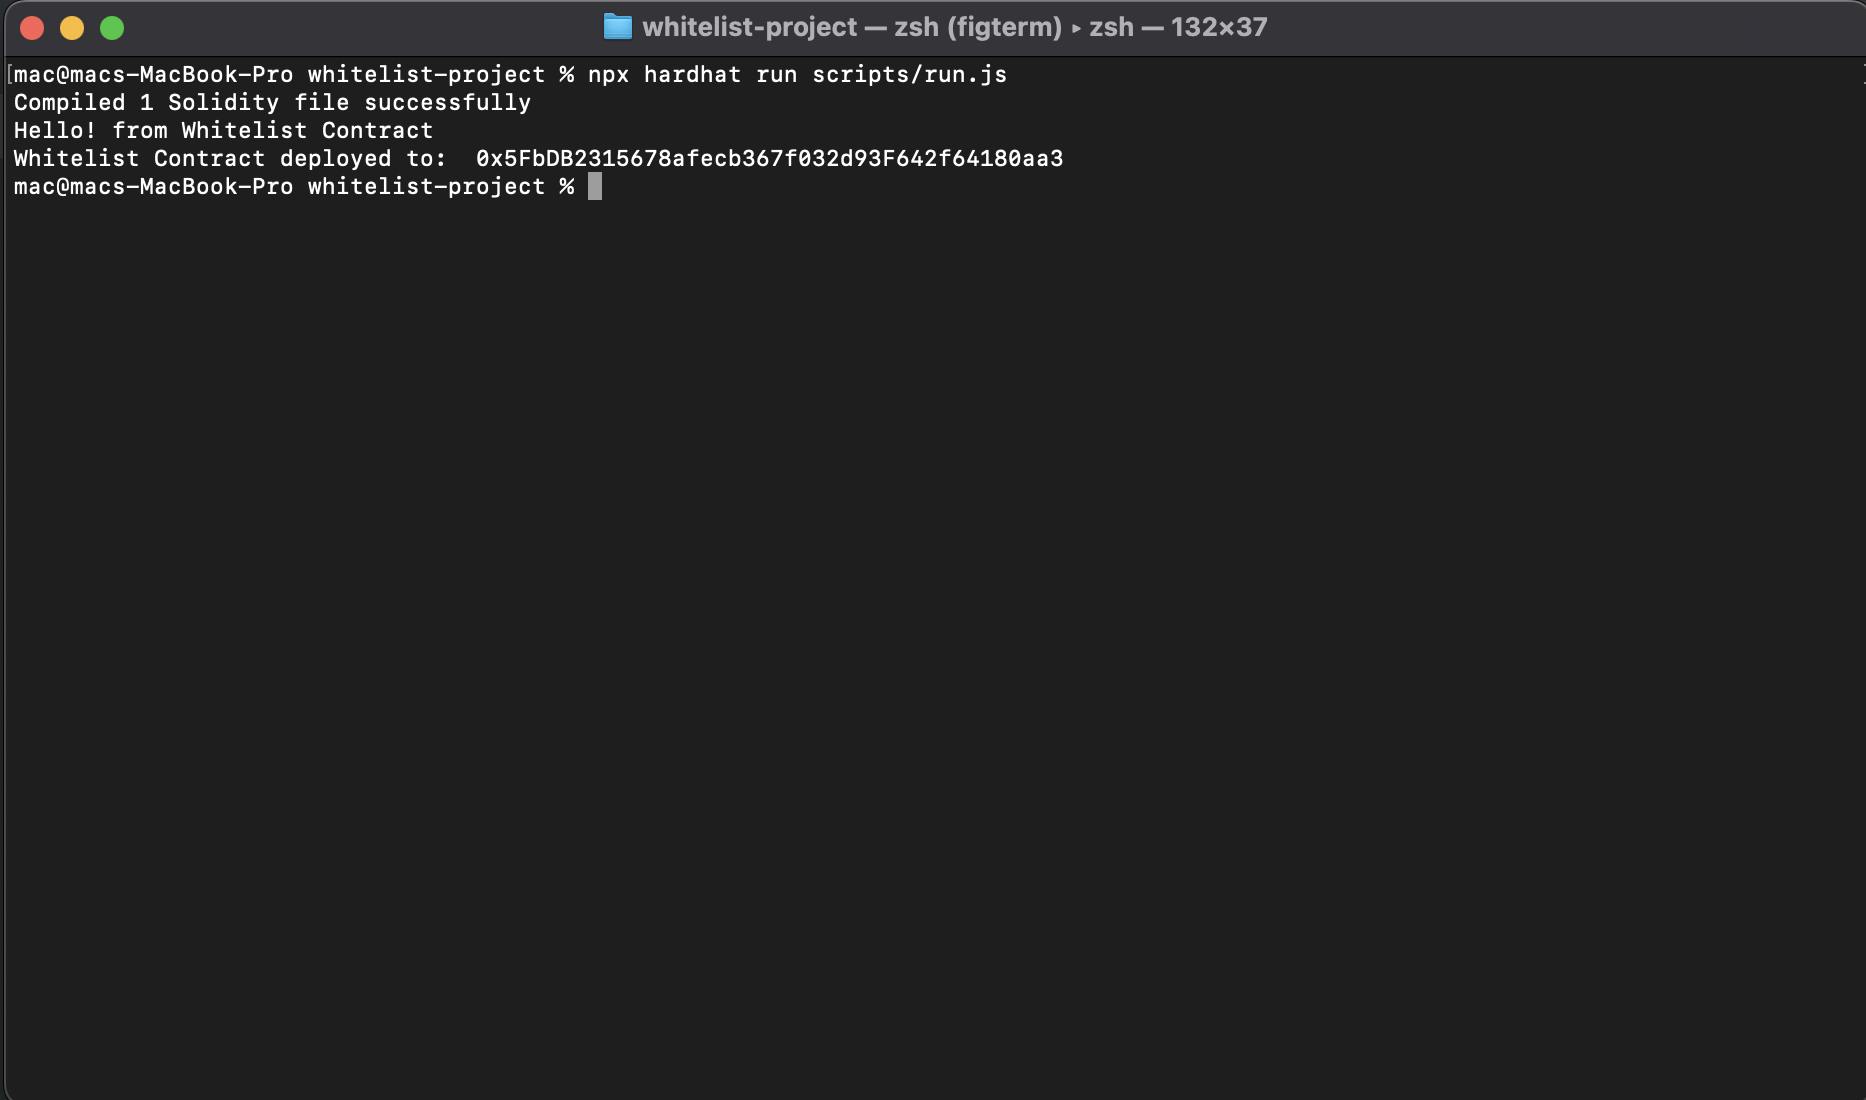
Let’s run it with the following command:
npx hardhat run scripts/run.js You should see something similar to this:

Now, we have a working smart contract. Let’s deploy it to our local network.
In the scripts folder,…
Read More: web3.hashnode.com


 Bitcoin
  Ethereum
  Tether
  Solana
  XRP
XRP  Dogecoin
  USDC
USDC  Cardano
  Lido Staked Ether
  Avalanche
  TRON
TRON  Toncoin
  Stellar
  Shiba Inu
  Wrapped stETH
  Wrapped Bitcoin
  Polkadot
  Chainlink
  Bitcoin Cash
  WETH
WETH  Sui
Sui  Pepe
Pepe  NEAR Protocol
  LEO Token
  Litecoin
  Uniswap
  Aptos
Aptos  Wrapped eETH
  Hedera
  Internet Computer
  USDS
USDS  Cronos
  Ethereum Classic
  POL (ex-MATIC)
  Bittensor
  Render
  Artificial Superintelligence Alliance
  Ethena USDe
  Algorand
  Arbitrum
  Filecoin
  Bonk
Bonk  Celestia
  Stacks
  Dai
Dai  Cosmos Hub
  WhiteBIT Coin