Maintaining an open-source ecosystem is more critical than ever in a world where practically all software is based on open-source code.
The dissemination of vital open-source infrastructure is unsustainable if it’s dependent on centrally hosted platforms and corporations. Using such centralized services is incompatible with the values of the free and open-source ecosystem and threatens its survival.
However, a decentralized Git hosting protocol was created as an alternative to eliminate intermediaries and create a stable, effective, and secure peer-to-peer ecosystem.
This post will discuss how to build and push projects to a web3/decentralized Git hosting protocol: Radicle.
Prerequisites
Make sure to have Node/NPM installed on your computer. To install, click here for a guide.
What Is a Git Hosting Protocol?
Git protocol is a unique daemon that comes included with Git and listens on a specific port (9418) to provide a service comparable to SSH, but without any authentication.
It’s the quickest available for file transfers. It employs the same data-transfer technique as SSH, but without encryption and authentication costs.
We’ll likely want to set up a Git Daemon to serve our project if we’re providing a lot of traffic for a public project or hosting a big project that doesn’t require user authentication for reading access.
What Is Radicle?
Radicle is an open, protocol-based, decentralized coding collaboration network. It allows developers to collaborate on code without relying on third parties.
Radicle was created to mimic the capabilities of centralized code collaboration platforms while maintaining Git’s peer-to-peer nature, extending the benefits of distributed version control to eliminate intermediaries, and creating a stable, effective, and secure peer-to-peer ecosystem.
Project Setup and Installation
We’ll install the Radicle CLI to handle identity and interact with Git to push code to the network.
Installation using Cargo on Linux and x86_64 macOS
Install the Radicle CLI by running the following command:
cargo install --force --locked --path . Or, directly from our seed node:
cargo install --force --locked --git https: Installation Using Homebrew
Install the Radicle CLI by running the following command:
brew tap radicle/cli https: brew install radicle/cli/core After installation, use the following command to verify the installation:
rad We should have something similar to what we have below:
Create Radicle Identity
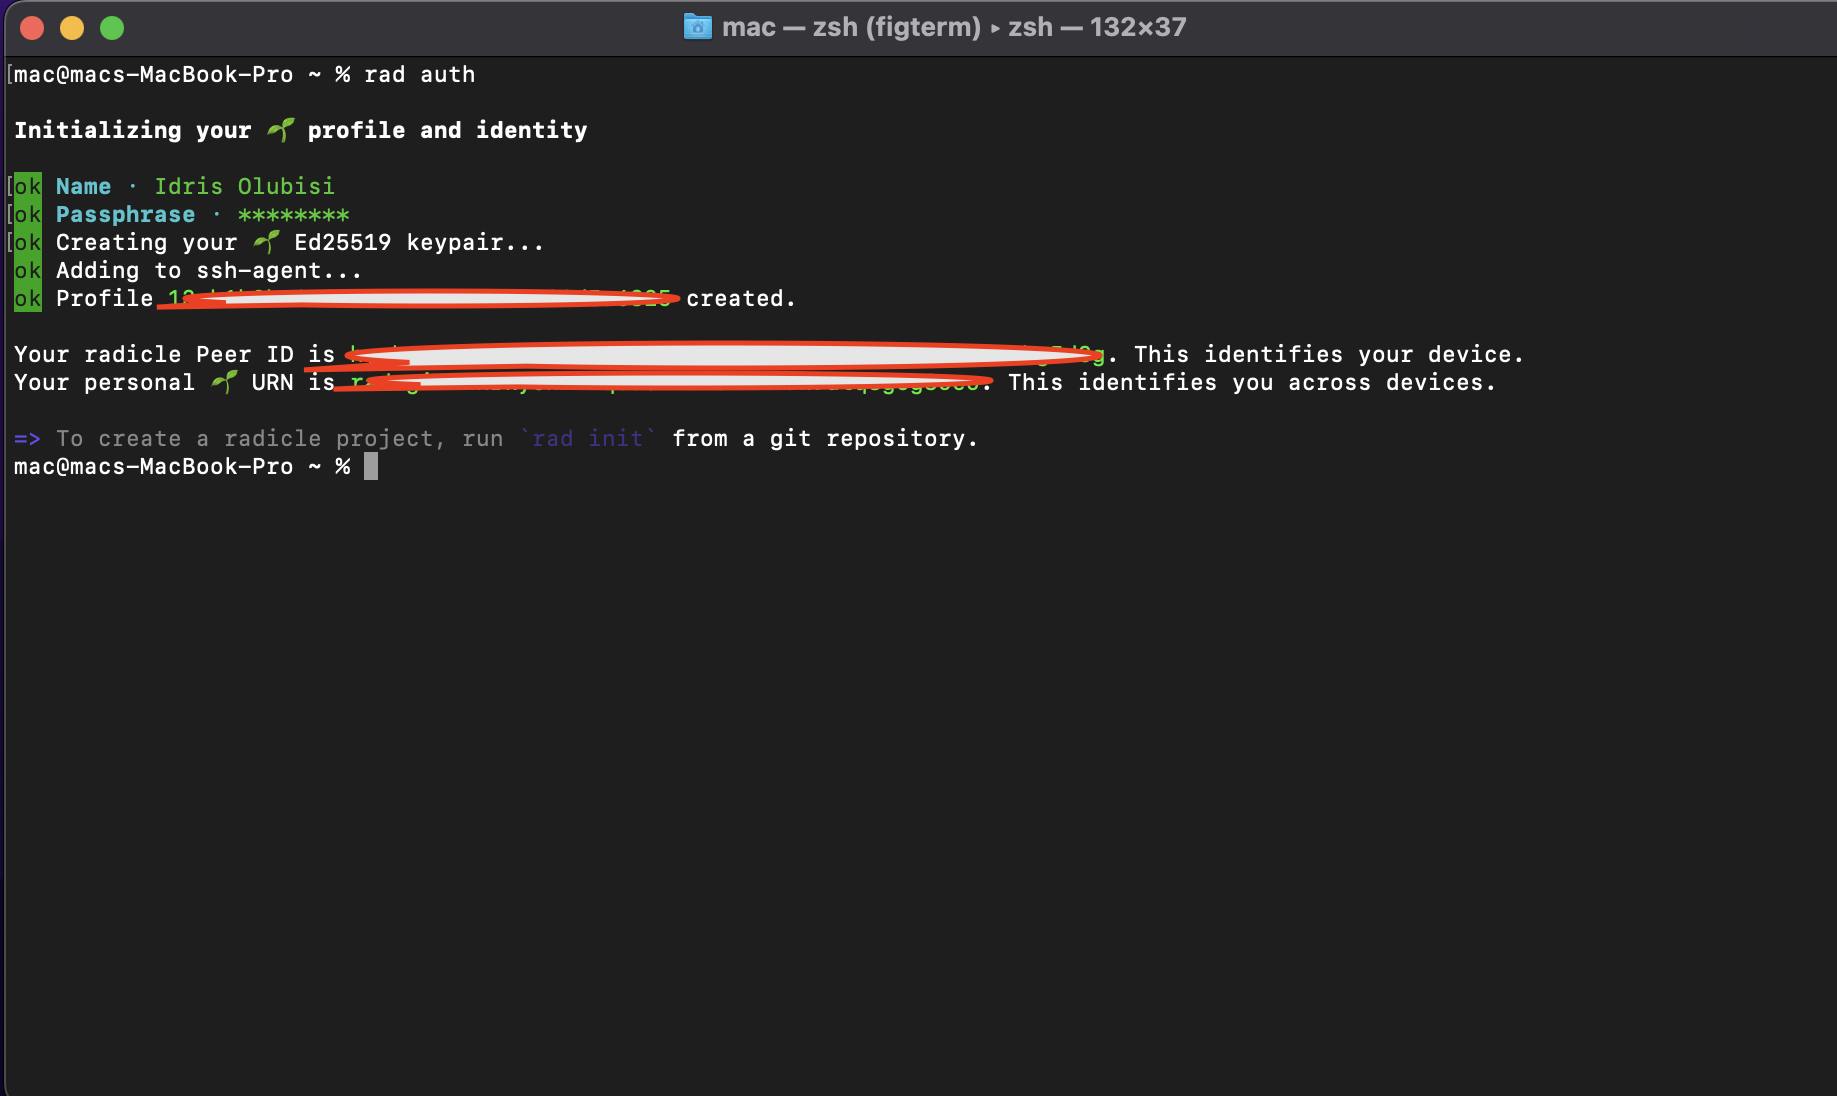
To interact with the Radicle network, we need an identity, which we can generate with rad auth.
After choosing a display name and setting a passphrase, the Radicle CLI generates two unique identifiers:
-
Peer IDidentifies our device and the code you publish on the Radicle network and is secured with anEd25519keypair. -
Personal URN, which identifies the user across devices.
Next, we will run the following command:
rad auth We should have something similar to what is shown below:

According to the documentation, there’s currently no way to retrieve a lost or forgotten passphrase, so please store it safely!
Building a React Application
It’s time to get our website up and running!
To create a new project, go to a directory of your choice and use the npx create-react-app command.
This command creates a React.js project.
To install the dependencies, copy and paste the commands below:
npx create-react-app <project name cd <project name You’ll then receive a message with instructions to connect to your project and execute it locally using the following command:
npm start React.js will now start a hot-reloading development environment that’s accessible by default at http://localhost:3000.

This is a simple application; we can push any project to the decentralized Git hosting protocol.
Deploying to a Git Hosting Protocol Using Radicle
We can create a Radicle project from any existing Git repository and publish it on the Radicle network using two CLI commands — rad init and rad push.
Projects…
Read More: web3.hashnode.com


 Bitcoin
  Ethereum
  Tether
  XRP
XRP  Solana
  USDC
USDC  Dogecoin
  Cardano
  Lido Staked Ether
  TRON
TRON  Wrapped Bitcoin
  Wrapped stETH
  Chainlink
  Litecoin
  Avalanche
  Stellar
  Toncoin
  LEO Token
  Sui
Sui  Hedera
  Shiba Inu
  USDS
USDS  Polkadot
  MANTRA
  Hyperliquid
  WETH
WETH  Ethena USDe
  Bitcoin Cash
  Bitget Token
  Wrapped eETH
  Uniswap
  Monero
  WhiteBIT Coin
  NEAR Protocol
  Aptos
Aptos  Pepe
Pepe  Dai
Dai  Internet Computer
  Aave
Aave  Ondo
Ondo  sUSDS
sUSDS  Ethereum Classic
  OKB
OKB  Bittensor
  Gate
Gate  Mantle
  Official Trump
  Tokenize Xchange
  Coinbase Wrapped BTC